
It dawned on the coaches at GTM recently that truly advanced driving techniques are often mentioned at a track day but never implemented with a student, those being: Left Foot Braking, Heel+Toe, and Trail braking. As if these concepts are too dangerous or taboo: “Be sure to practice on the street, before trying those techniques on track.” is a phrase I’ve heard around the paddock more times than I’d like to admit — seemingly counterproductive, aren’t students at the track there to learn “High Performance Driving”? – isn’t that the HPD part of HPDE? Pushing someone off with a “not here, not now” attitude just doesn’t sit right with us.
That got us thinking, “how would I teach someone these advanced techniques? And where is the best place to practice? and how should they practice? And how did we learn them in the first place?”
To set an exciting stage before delving into a TL:DR lecture, take a look back at this brief clip of famed Audi Sport world rally driver Walter Rohrl and his footwork, you’ll actually see all three techniques in this clip!
For those of you with “flappy paddle gearboxes” or modern technology driven “auto-rev-matching” sports cars you might be thinking that this article doesn’t apply to you, but you’d be wrong. At least two of the 3 techniques in some combination work for your situation. So let’s find out more.
Left Foot Braking
As much as I prefer driving something with a manual transmission, and I always will, the absolute best way to start learning the finesse that is required for Left Foot Braking is by hopping into an automatic transmission vehicle. By eliminating the third pedal, you can focus your attention – and your left foot – to operating the brakes. At first you’ll notice just how binary your left foot/leg are, you’ve grown accustomed to: Clutch In-Clutch Out, Daniel-san, repeat. What that means is, the first time you touch the brakes with your left foot: prepare to drop anchor and make sure no one is behind you! It takes time to build the understated gentleness that’s required to properly operate the brakes that your right foot already takes for granted. Leave lots of room and start with simple “limousine stops” – very long, soft braking, until you can shorten your distances and increase pedal feel. After a while it will become natural, and you can become ambidextrous with your braking foot.
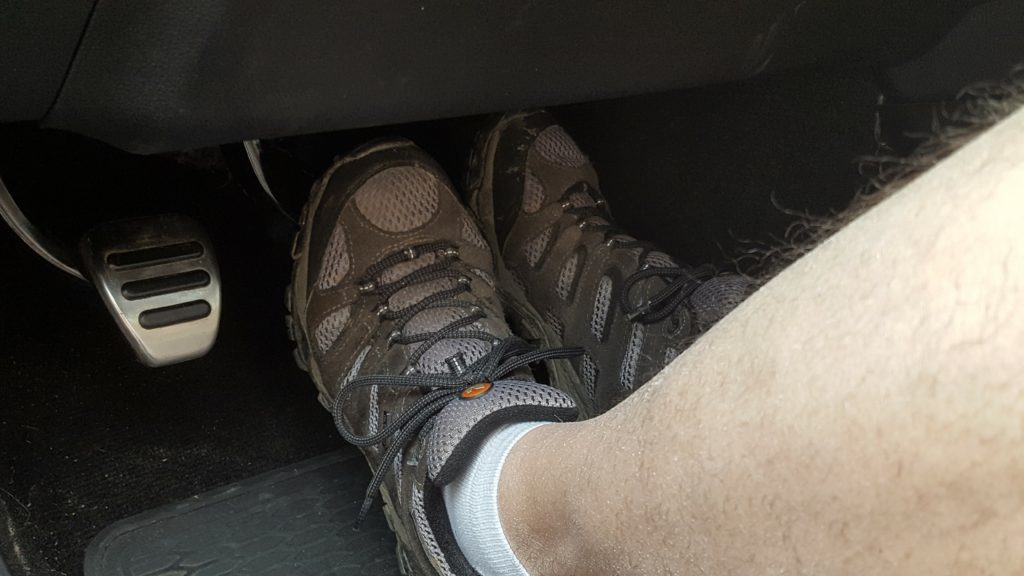
Practice Notes: Be aware of your mental transition period from your right to left foot, everything is slower in the beginning, your reaction time is definitely slower, leave room! When you’re not using your left foot, you should be resting your foot on the dead pedal. While practicing get your left foot prepared early, your foot should be near/hovering the brake pedal ready to use. Concentrate. An added side effect when first learning to left foot brake is that you become more accurate at judging speeds and distances. Your senses are heightened and you become more aware of everything – almost like when you first started to drive. Being able to better judge speed and distances are key on a track and on the street it’s just another skill that is often taken for granted. Keep practicing.
Heel + Toe
You can search the web – right now – and find 1,000 videos, diagrams and articles that will teach you everything you ever wanted to know about “proper Heel+Toe.” But the same can be said about Ice Skating, it looks so sleek, simple and cool, so… I can do that! — Until you actually try it … fail terribly at it, horrible noises and smells arise from your car, and you give up in a mild temper tantrum.
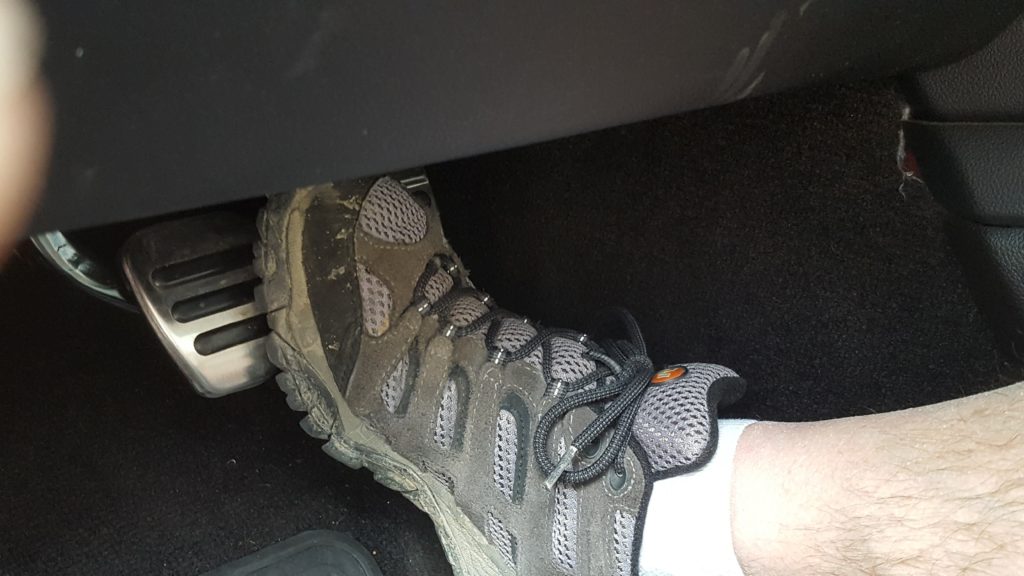
For those new to Heel+Toe the basic definition is: “A driving method whereby the right foot is used to control both the accelerator and the brake…” – but more importantly –“…it is used when braking and downshifting simultaneously (prior to entering a turn), and allows the driver to “blip” the throttle to raise the engine speed and smoothly engage the lower gear” (Wikipedia).
Equally as important as Hand Positions are, the drivers Feet Positions are too. As much as the online videos and tutorials try and help, they are by-the-book and don’t really take into account how vehicles might be constructed differently, pedal spacing and the like. Heel+Toe on a mid ’90s BMW is simple because the pedal box was laid out for it, but another vehicle might require pedal extenders to make it easier. Let’s take a look at two common foot positions that work for a majority of vehicles.
Example: “Goofy Foot” (or Classic) Heel+Toe – used on cars where pedal comes up from the floor: ie: Porsche, BMW, etc. Here the heel is used to blip the throttle while the ball of the foot maintains pressure on the brakes.
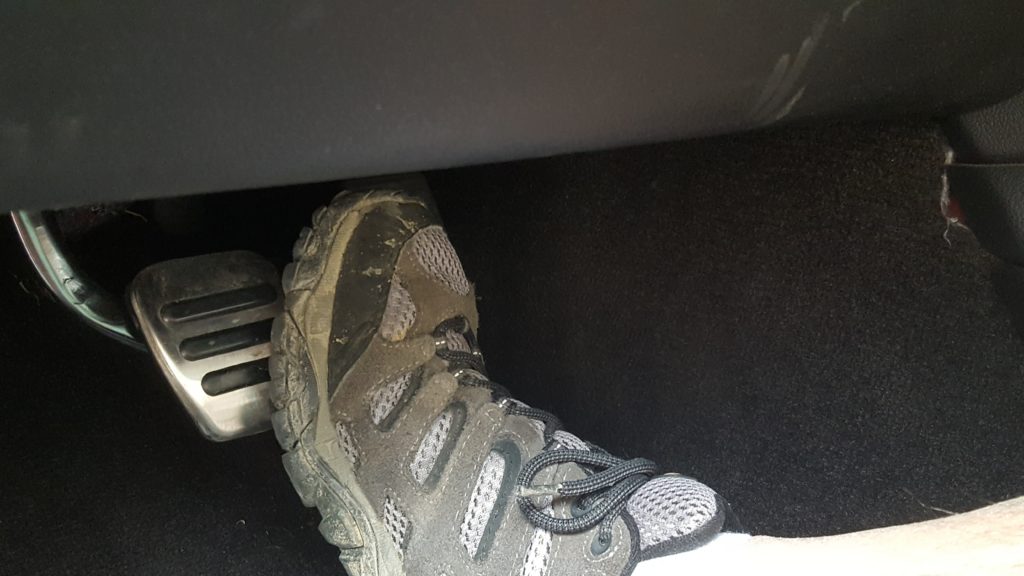
Example: “Rolled Ankle” Heel+Toe – used on cars where the pedal comes down from the firewall: ie: Volkswagen, Honda, etc. Here the left edge of the ball of the foot is used to maintain brake pressure while the right edge is rolled over to blip the throttle.
Practice Notes: Heel+Toe should not be attempted for the first time hopping on your favorite exit ramp on the way to work. Instead, find an open parking lot or use that stop-and-go traffic to practice your footwork. You can even use Heel+Toe for take offs, practice your hill starts this way as well. Leave plenty of room and work at this delicate technique slowly until you’ve mastered it. You are trying to build muscle memory not be super cool. It’s also going to be embarrassing at first, people will think you don’t know how to drive a manual, but after a while it will all become smooth and rhythmic. One other thing we’ve found that is important for learning this technique is foot wear. It’s actually easier to learn Heel+Toe with a chunky pair of Doc Martin’s than with your slim fitting Sparco racing booties. Getting a wider soled shoe helps bridge the gap between the pedals and develop the feel for the technique by exaggerating your movements. If you find your pedal spacing is too larger for proper Heel+Toe, invest in some pedal extenders to aid you. In the end proper Heel+Toe technique is essential for maintaining vehicle balance and often for moving into more advanced run groups if that is your goal. Keep practicing.
Cheaters never prosper…
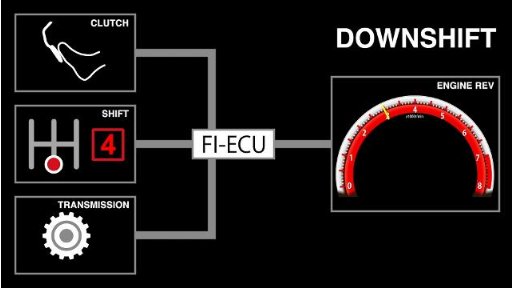
Example: Auto-rev Match “data flow diagram” from Honda.
Auto-Rev Matching was introduced main stream in the last 5 years, and was designed as a driver aid to replace having to learn Heel+Toe – Ideally this feature will actually limit the likelihood of a spin during downshifts, under braking. But in our opinion, although this might be good for the masses, it begs the question, “are you driving the car or is the computer?”
Auto-Rev Match can be “slow” for people accustomed to Heel+Toe and if you decide to disable this feature you *will* need to revert back to Heel+Toe. If you leave the feature enabled, it’s important to learn the timing of when/how the Auto-Rev Match occurs: Is activation when the shifter is in travel? Or is it when the clutch is depressed? How long does it take for the rev-match to occur? Does it happen consistently across your rev-range? Can you “outshift” the rev-match? Not understanding how this feature works can still cause the rear end to lock up, step out, or force the car into a spin. #savethemanual #learnheeltoe
The Dark Art of … Trail Braking
“Trail braking is a motorcycle riding and driving technique where the brakes are used beyond the entrance to a turn and are gradually released up to the point of apex. In a broader scope, trailing off the braking pressure either while straight line braking or, as above, after turn in has begun, allows for a less abrupt and more accurate final corner entry speed adjustment.” (Wikipedia)
Trail Braking is probably one of the most difficult techniques on this list to master and is not recommended for folks that are just starting out, as it can have some unpredictable consequences if executed improperly.
Many people learned to drive through our tried and true Drivers Education system, and to quote the Maryland Drivers Manual directly: “Generally, you should keep your vehicle to the right
of the center of the roadway…” followed by: “When turning, you should: plan your turn before reaching the turning point; • look behind and to both sides to ensure it is safe to proceed before making a turn; • adjust your speed for the turn.” – by this description, every turn is very analogue.
What does all that have to do with Trail Braking? We’ve been programmed to drive in a very binary and what I call “square” fashion. If you’ve ever played (or seen) Pac-Man, you know exactly what I’m getting at. You have to break yourself of this habit, think outside the lines, the lines are not your friends. EVERY turn has an apex.
That being said … I trail brake. I trail brake a lot, and often. I love it! But how does one learn this darkest and most sacred art of driving you ask? It’s actually not as difficult as you might think. Since you’ve already been practicing your situational awareness, increased judgment of speed and distances, and you know your town pretty well. Pick simple turns, not windy roads, but 90 degree turns or those short concrete island laden “V-shaped ramps” in and out of parking lots (seen below). Put your HPDE hat on – What do you now see?
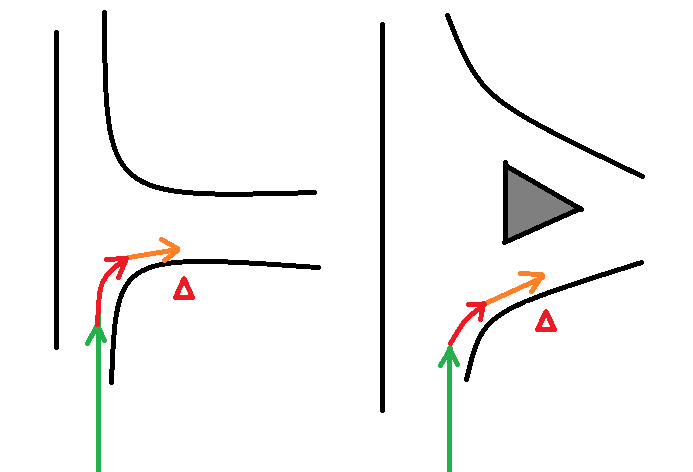
Granted the entrance to your local Walmart doesn’t have an apex cone laying there, but you’ve had enough training to understand how to read a corner. I’m not urging you to go on your next grocery run attacking every parking lot like you’re at an AutoCross, but what I’m suggesting here is to study the turns you drive all the time. At low speeds change your breaking point. Brake later and carry your braking to the apex, then accelerate out.
Practice Notes: Trail braking can be done at low speed and isn’t about going fast its about entry speed modulation, how long can you carry “a speed” to the apex. Practicing this technique on the street doesn’t require you to being going fast to understand the mechanics. I don’t recommend trying trail braking with other people in the car, since late breaking often puts people in an uncomfortable spot and always be sure no one is in front of you. Don’t attempt trail braking in bad weather conditions for the first time. You should also be able to feel a change in the weight transfer of your vehicle as you perfect trail braking. Take note of your speeds, can you carry 25 mph longer? how much further can you carry 25 to the apex? If you’re not comfortable with practicing this technique on the street, the next best thing is to sign up for some local AutoCrosses. At an AutoCross, you get to decide “how to take the corner” and can easily redesign “the line” without being off-course. Keep Practicing.
Important Disclaimer: To practice / learn any of these techniques, always remember to employ your strictest situational awareness, keeping your eyes up and scanning traffic both in front and behind you at all times. Be sure to leave plenty of room before attempting to practice any of the techniques outlined in this article, be sure to not overly exaggerate your movements or your speeds. Learning any of these techniques in a slow and controlled fashion is recommended. Moveover, GTM and its coaches are not responsible and/or liable for any damage, loss, etc if you fail to maintain proper driving distances, speeds, loose control or just fail miserably at these techniques. Like anything new, it takes time, patience and practice to master.


